I’ve mentioned Sky Creature before, as I’ve made a few things for them. So back in April I was chatting with Matt and he said he got a Deftaudio Teensy MIDI Breakout Board but would have to figure out an enclosure for it. I said something like “I make a lot of enclosures!” and he said “I’ll keep that in mind!” and then I totally forgot about it.
Image may be NSFW.
Clik here to view.
Matt did not forget about it though, and asked me to knock out an enclosure for it before they headed out on tour. He shipped me the assembled and programmed device and I designed and fabricated an enclosure for it. Oh, I also added circuitry so it could be powered by a standard guitar pedal power supply, which is a barrel jack with 9 volt center negative. I threw in a power LED while I was at it. (The Deftaudio board is nicely designed and easy to add things to via a set of male pin headers on the board.)
Image may be NSFW.
Clik here to view.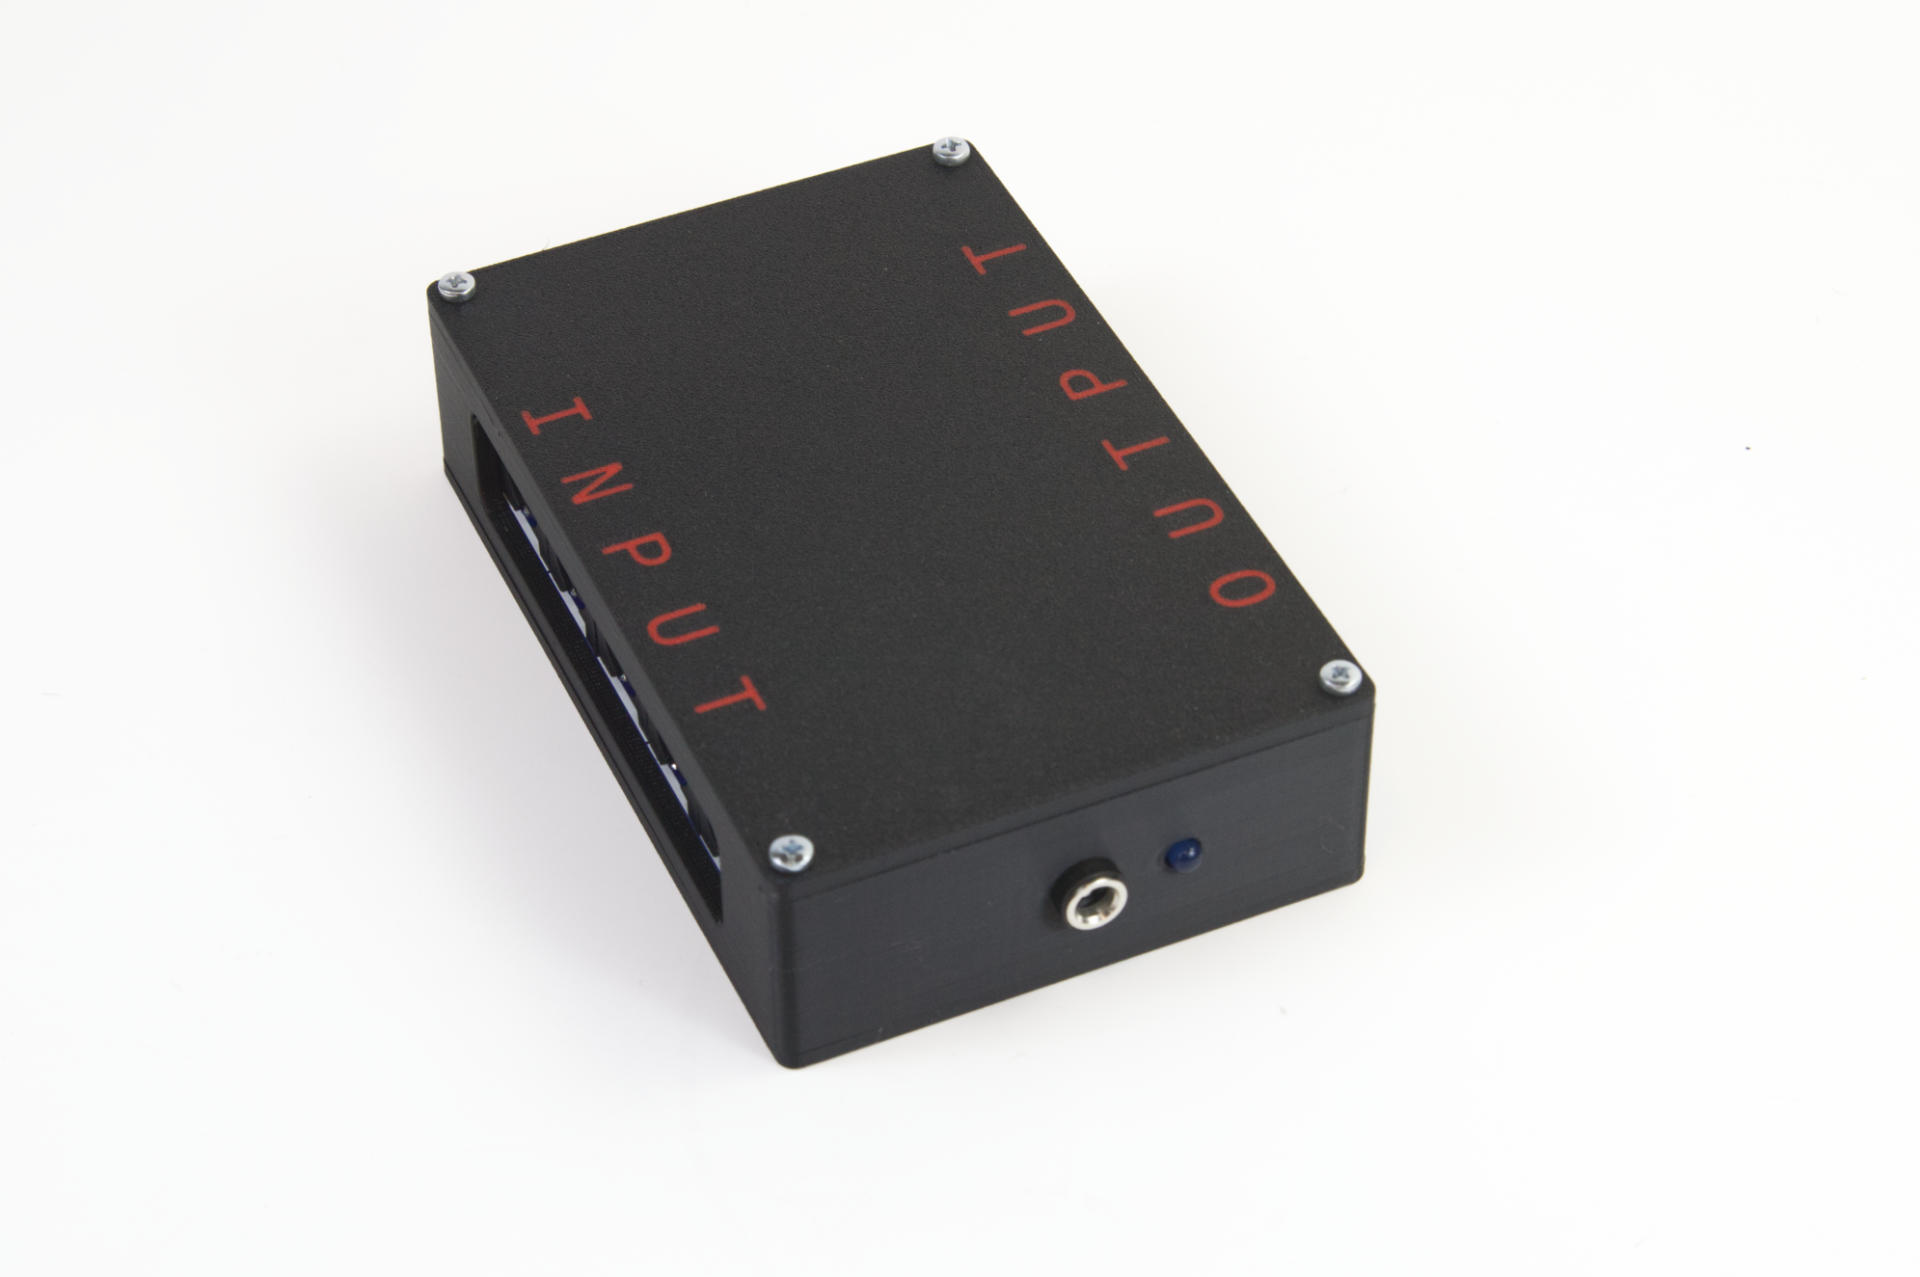
I got this done it about a week. The funny thing is that I sent Matt a photo and he said “That’s a great looking render” and I said “Sir, that’s a photo… I’ve finished it!” but sadly I forgot he wanted easy access to the USB port for (re)programming. I had it so you could remove the bottom cover and get access but I ended up redoing the body of the enclosure to make it easier.
Image may be NSFW.
Clik here to view.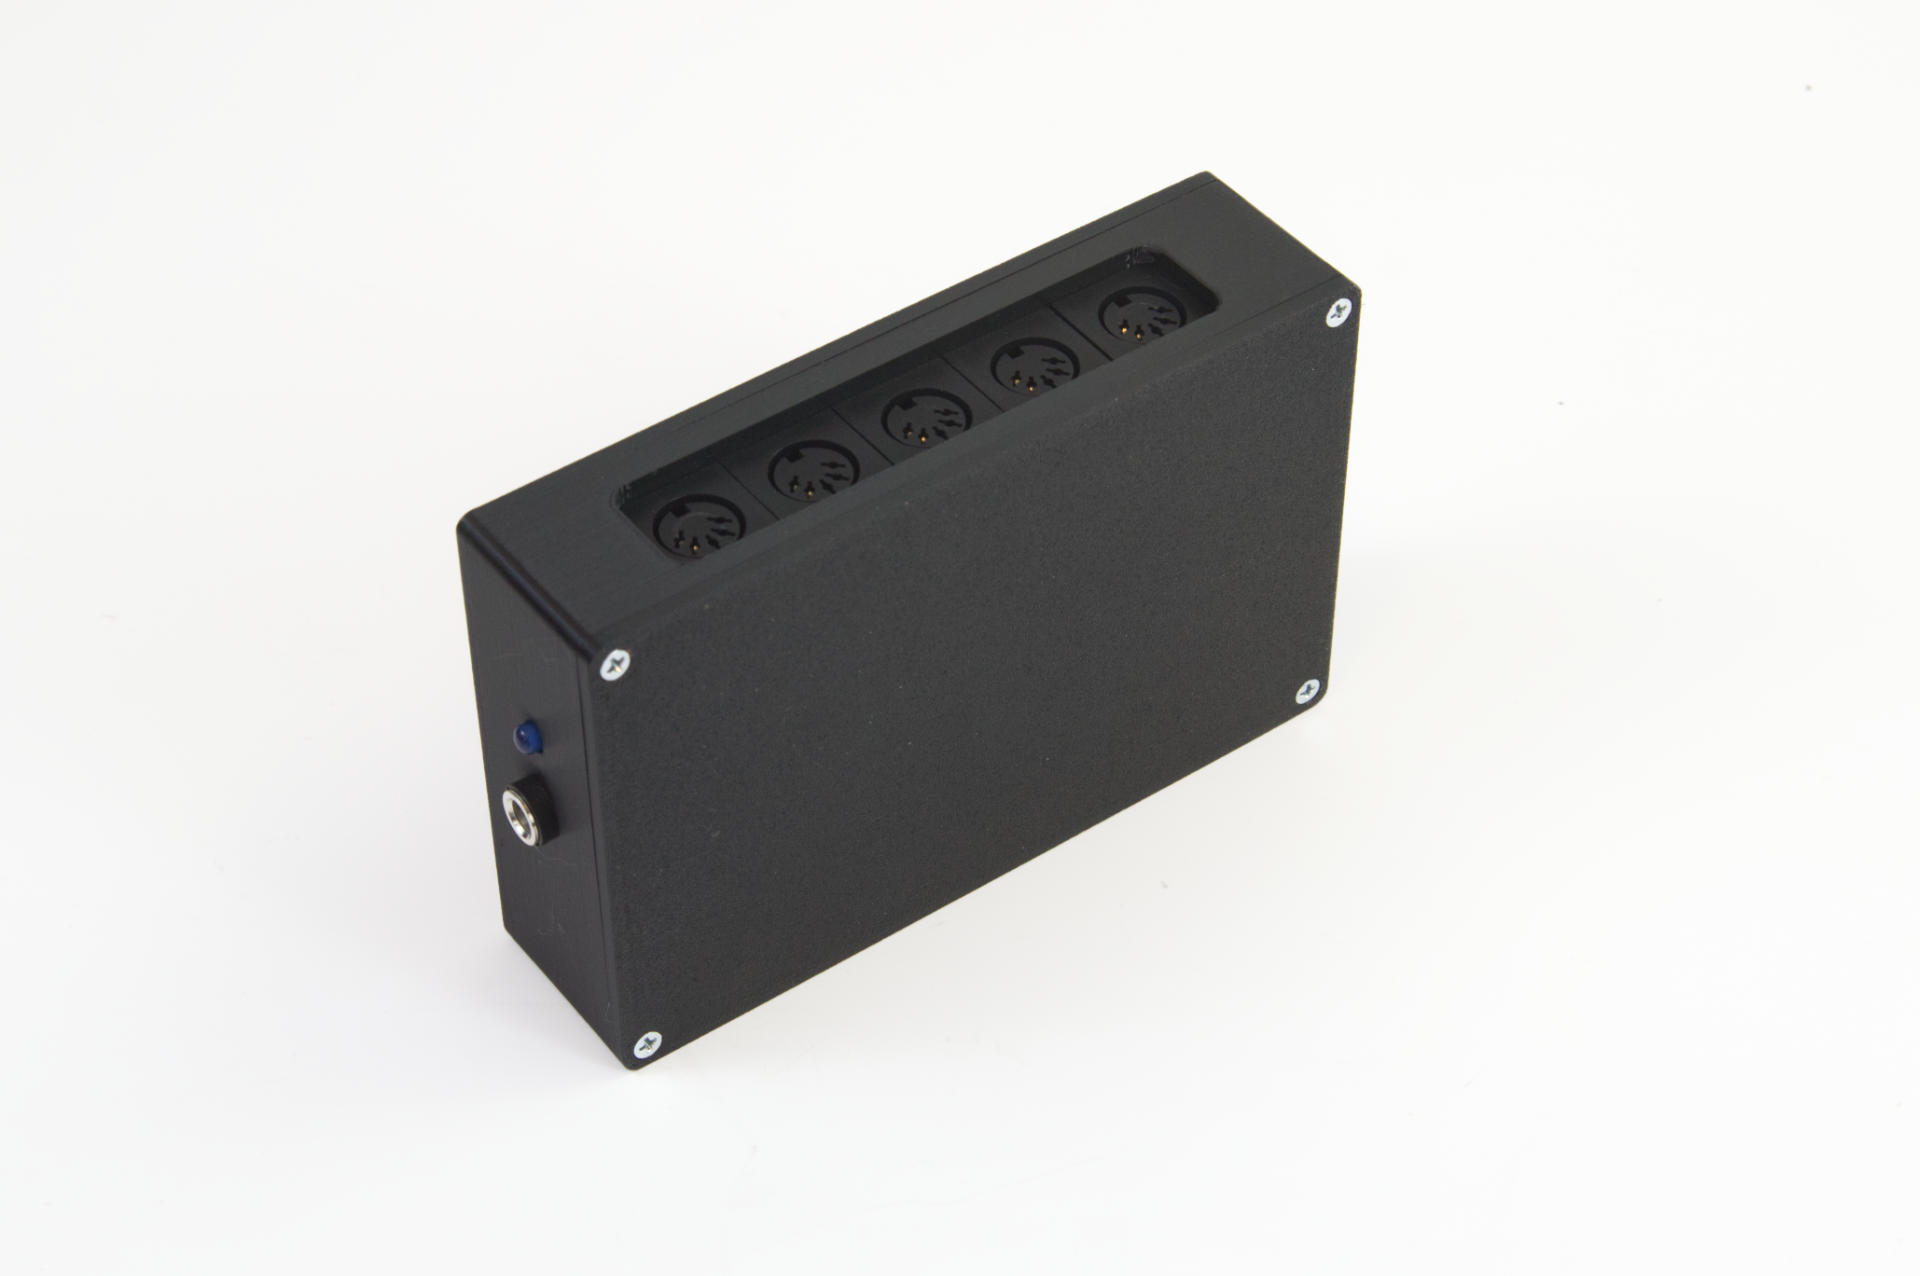
It was sort of last minute and a rush and I don’t know how elegant it is, but there’s a little swinging hatch that pivots on a 3mm screw with a cap nut cranked tight on the end of it. The other side of the hatch has a small screw to hold it in place…
Image may be NSFW.
Clik here to view.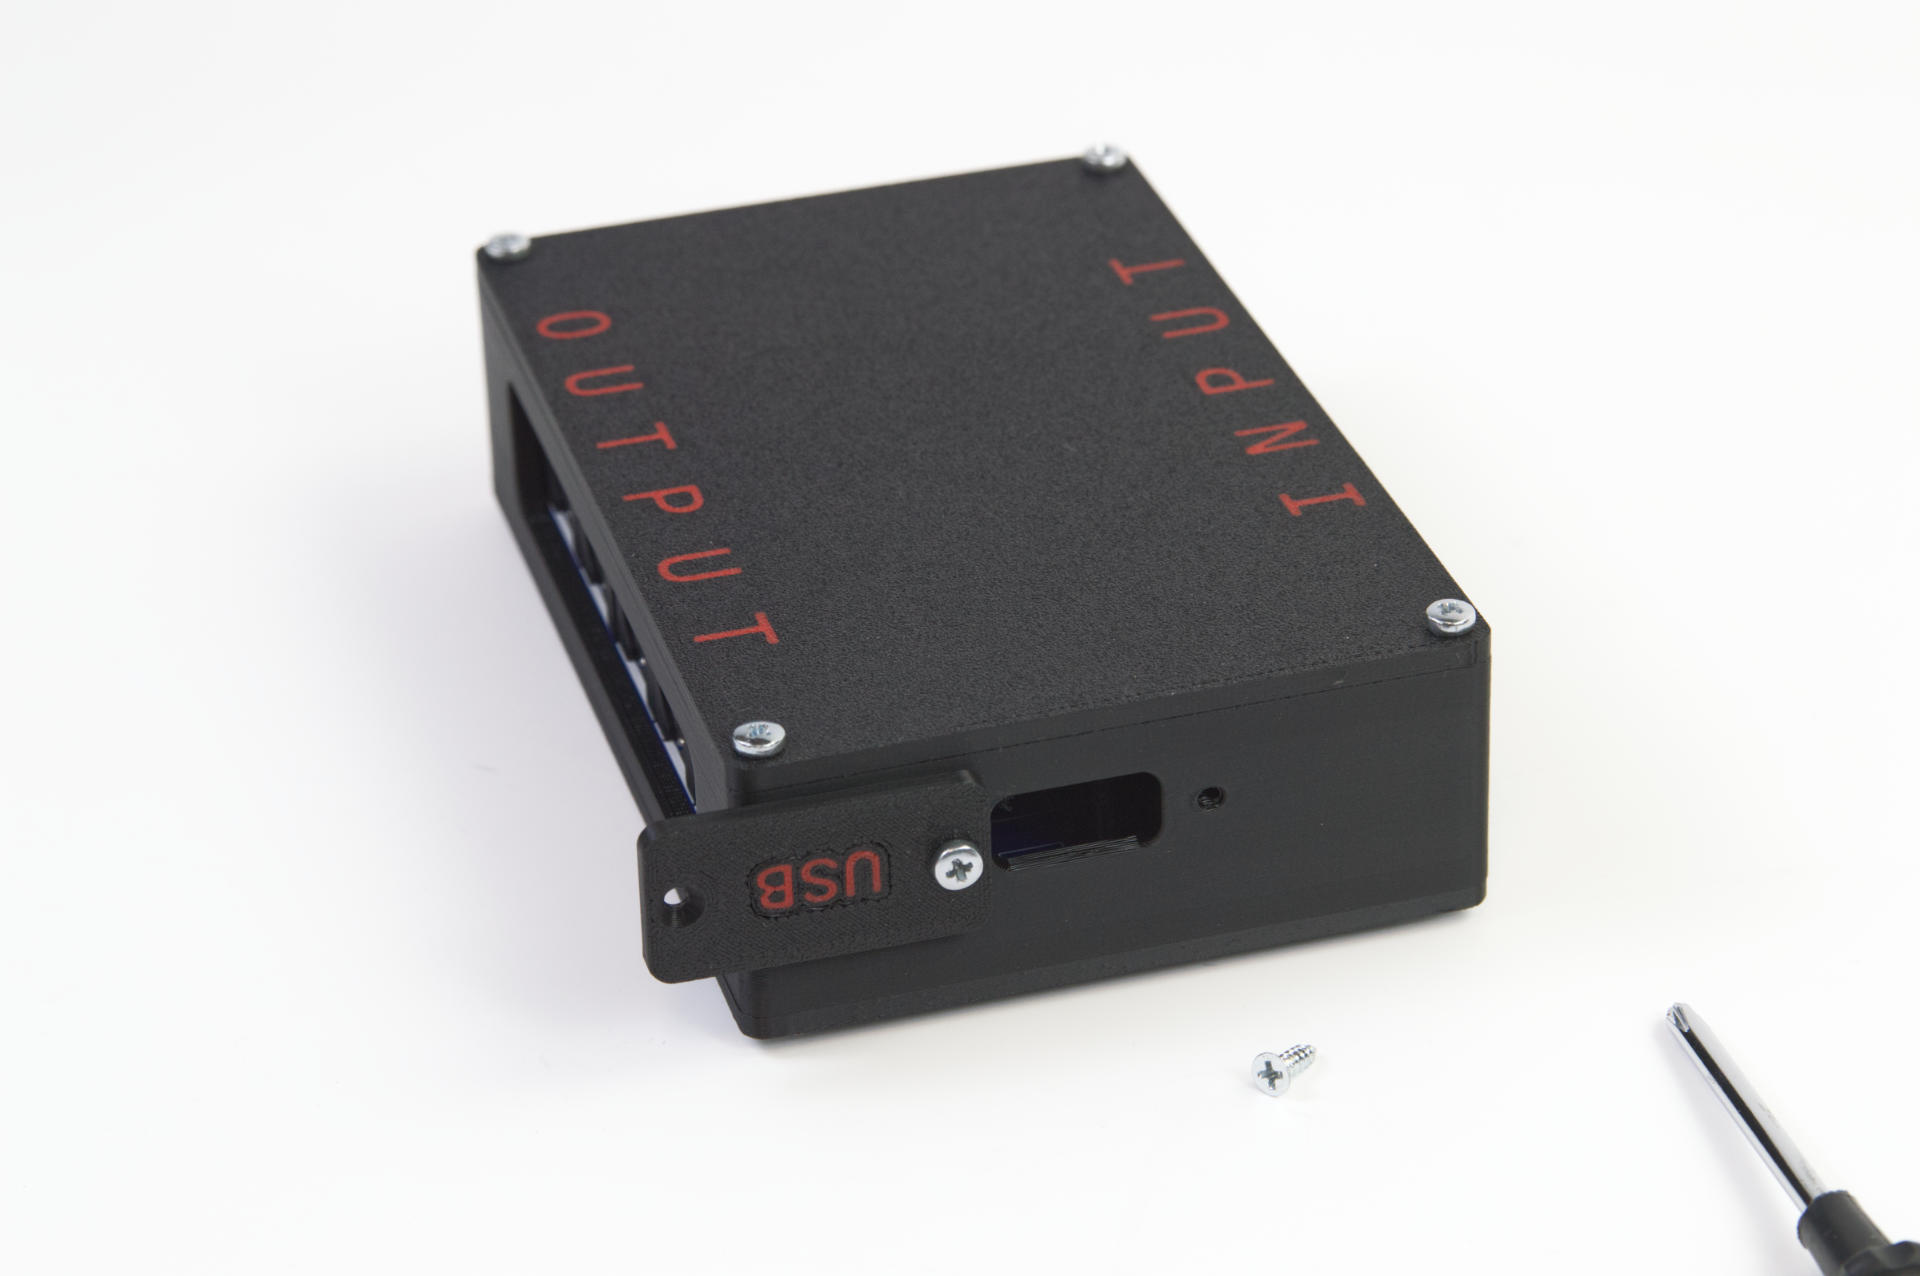
The idea being that you remove one screws and flip the door around 180 degrees to plug in a Micro USB cable, program it, then remove the cable and replace the little door. I think it’ll work well!
Image may be NSFW.
Clik here to view.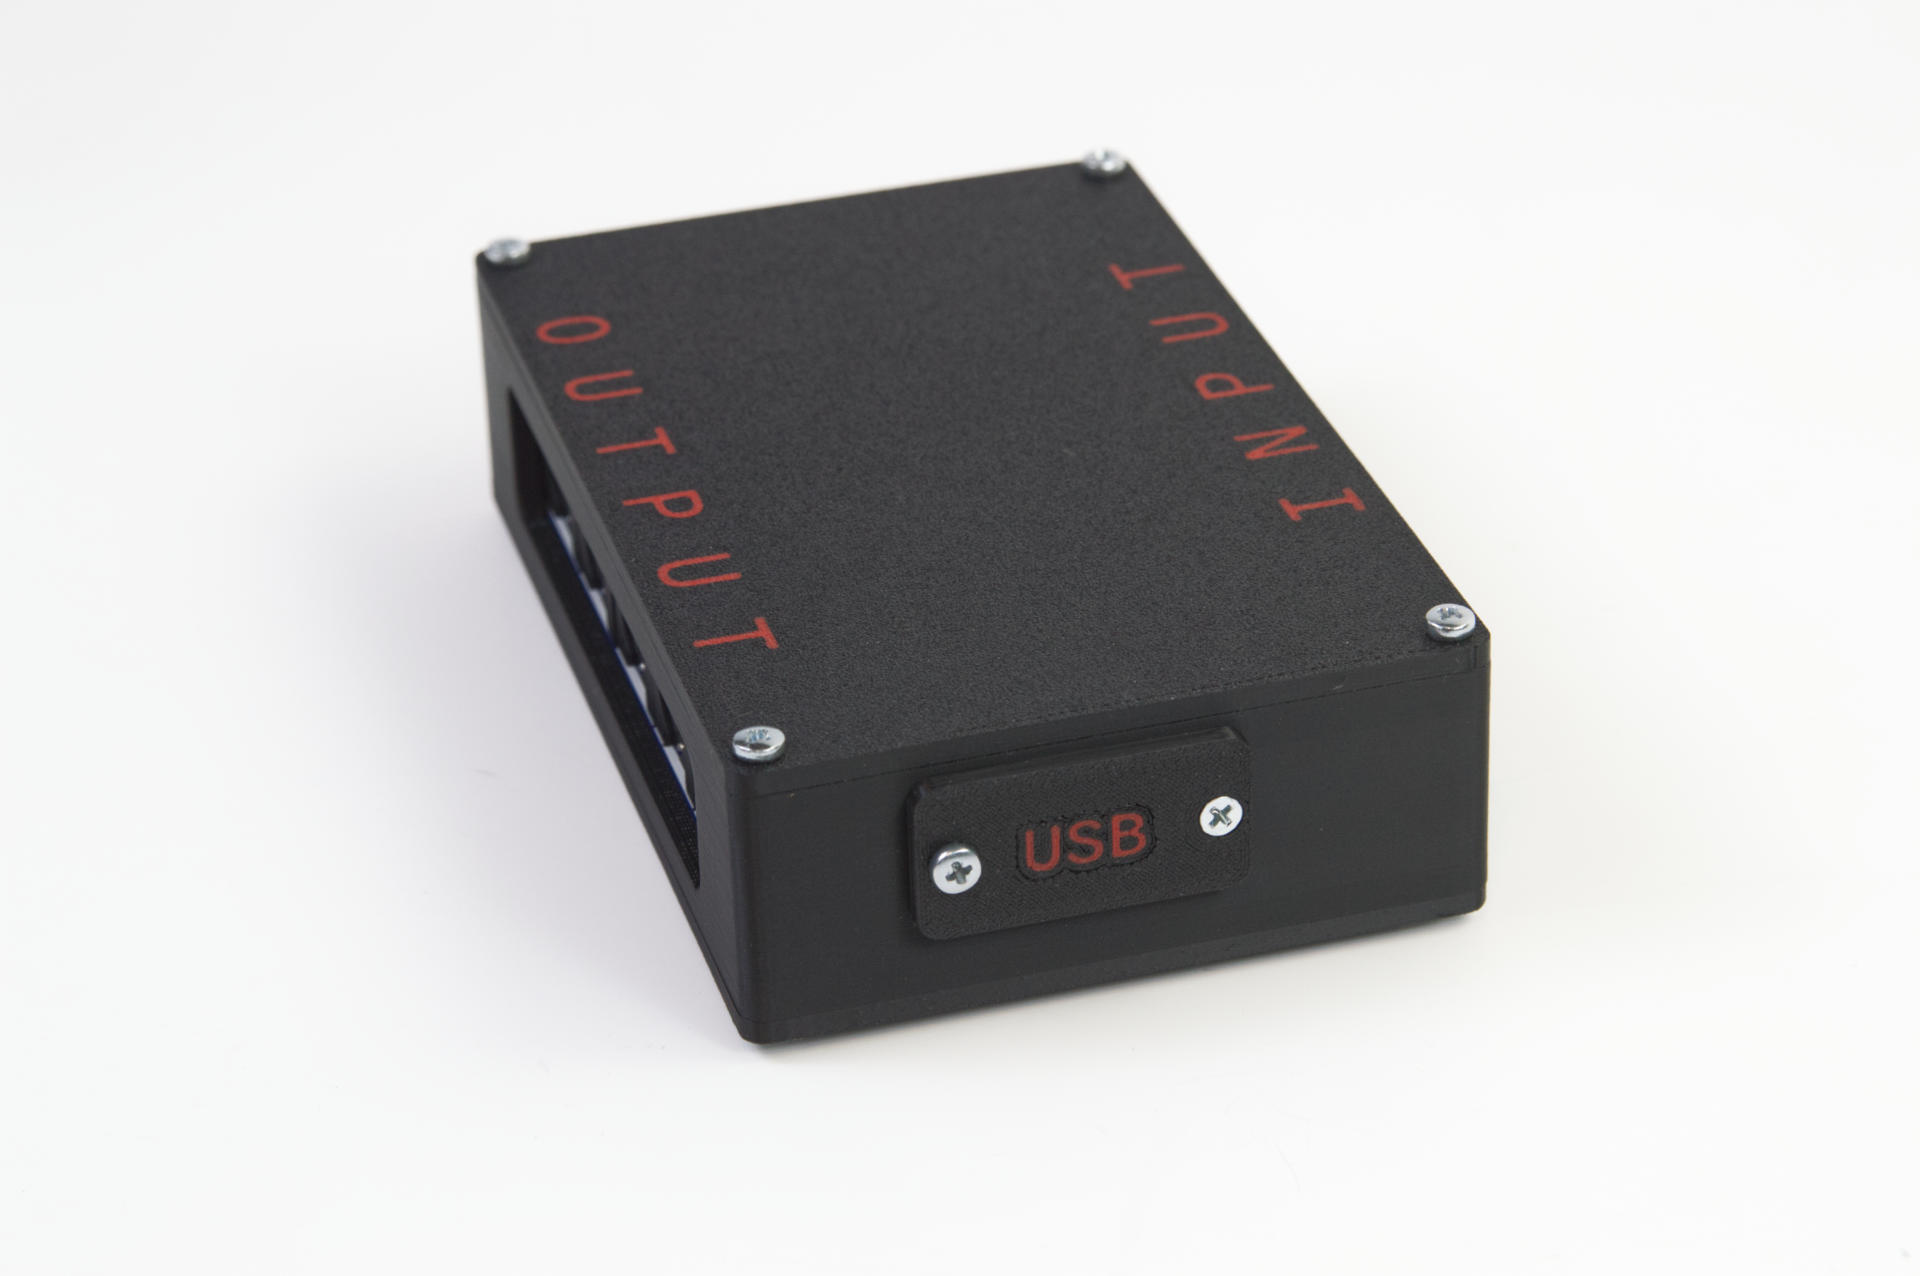
I also sent Matt a bag of extra screws. The screw used for the door is the same size as used on the bottom to hold the cover in place, so a few extra seems like a good idea, I used plain old 3mm pan head screws for the top so those could also come out with a standard screwdriver. I typically use black button head screws because they look better, but I didn’t want to include a tiny hex key when a standard Philips screwdriver is probably easier to attain.
I also did a two color print for the top cover and the USB door. The door print didn’t turn out amazing (rush job, didn’t have time to print another) but I think the top looks really good!
Anyway, I really like doing these sorts of things, so if you have a project in mind let me know!
